

Key Takeaways
Summary
22 items · 45-90 minutes
Why This Checklist Can Save You Hundreds of Dollars
Security deposits represent a significant upfront cost - often one to two months' rent - and disputes over their return are among the most common conflicts between renters and landlords. The single most effective thing you can do to protect that money is to create an airtight record of the unit's condition before you move in, not after.
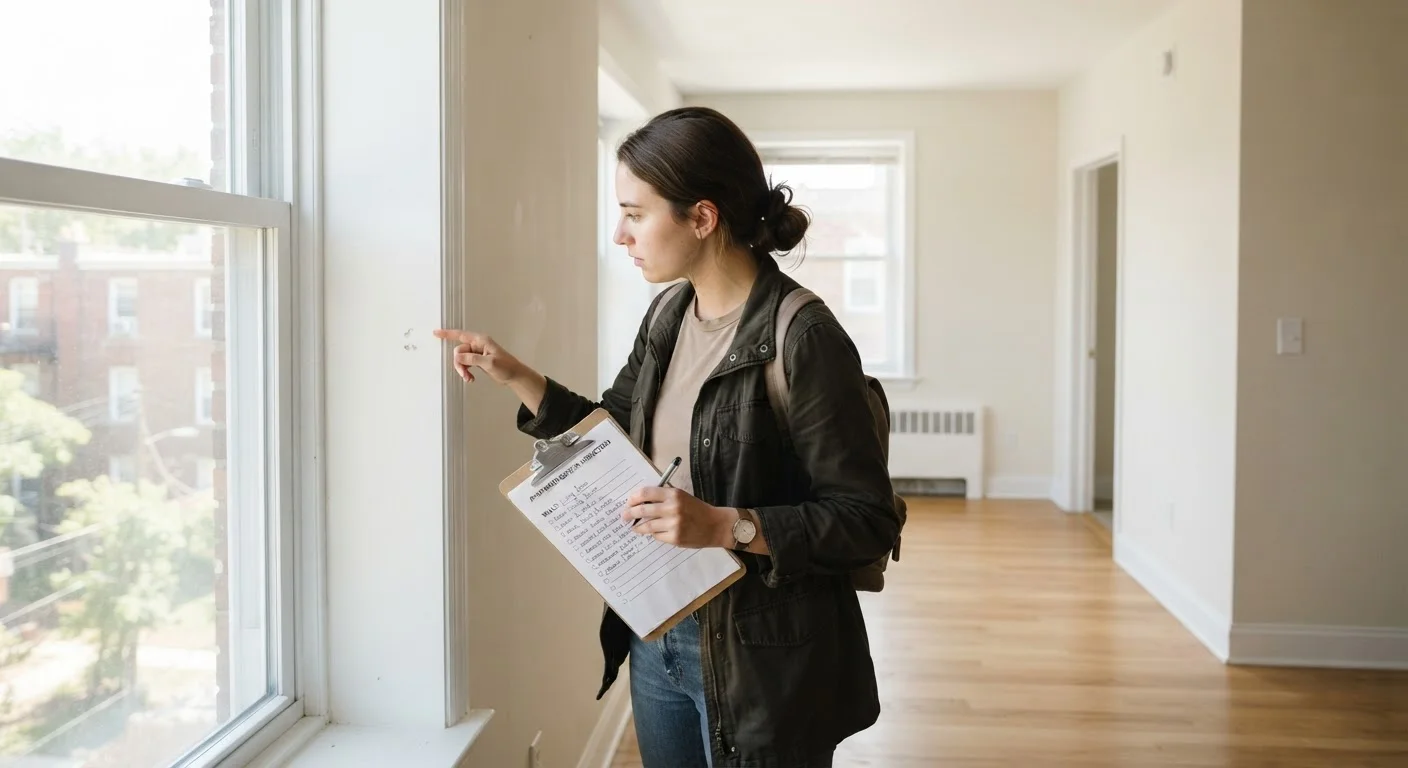
Without documentation, move-out disputes come down to your word against your landlord's. With it, you have dated photographic evidence and a signed inspection record that clearly establishes which damage existed before your tenancy. This checklist walks you through exactly what to capture, room by room, before you hand over a dime.
For a deeper understanding of what landlords are legally permitted to deduct - and what qualifies as normal wear and tear - see our companion guide on what landlords can and cannot legally keep from your deposit.
Don't Sign Anything Before Inspecting
Some landlords present a move-in checklist that states the unit is in "good condition" and ask you to sign it quickly at key handoff. Do not sign any document confirming the unit's condition until you have personally walked through every room and verified each item yourself. Signing prematurely can legally bind you to accepting defects you haven't seen - and those defects may later be charged to your deposit.
What You'll Need Before You Walk Through the Door
Arriving prepared makes the inspection faster and the documentation more defensible. Gather the following before your pre-move-in walkthrough:
Smartphone with camera
Capture dated, timestamped photos of every pre-existing defect throughout the unit.
Move-in inspection form
Provide a room-by-room written record of the unit's condition, signed by both tenant and landlord.
Cloud storage or email account
Back up all photos immediately so they're preserved with metadata intact regardless of device issues.
Outlet tester or phone charger
Verify that every electrical outlet in the unit is functional before move-in.
Flashlight or phone torch
Illuminate dark corners, under-sink cabinets, and closet floors where damage can easily be missed.
Schedule your walkthrough before any of your belongings are moved in. An empty unit is far easier to inspect thoroughly, and furniture obscuring the floor or walls weakens your documentation. If possible, bring a second person - a witness who can co-sign the inspection form adds credibility if a dispute later arises.
Good communication habits with your landlord - including keeping copies of all written correspondence - extend well beyond move-in day and are worth establishing from the start.
The Pre-Move-In Inspection Checklist
Work through every room systematically. Don't rush. For each item flagged below, photograph the issue, note its location on the inspection form, and describe it briefly in writing (e.g., "3-inch scratch on hardwood floor, northeast corner of living room"). Vague notes like "some damage" won't hold up if disputed.
Walls, Ceilings, and Floors
Doors, Windows, and Locks
Kitchen and Appliances
Bathrooms
Utilities and Safety Equipment
State Law Controls Your Deposit Rights
Security deposit rules - including maximum deposit amounts, required return timelines, and whether landlords must provide itemized deduction statements - vary by state and sometimes by city. Some states require landlords to conduct a joint pre-move-out inspection and give tenants a chance to remedy issues before final deductions are made. Research the tenant protection laws in your specific state before move-in, and keep copies of all inspection records for the full duration of your lease plus any applicable statute of limitations period.
After the Walkthrough: Locking In Your Documentation
Completing the walkthrough is only half the job. How you preserve and share that documentation determines whether it actually protects you.
- Submit your inspection form to the landlord in writing - email is preferable to a paper handoff alone, because it creates a timestamp. Request a countersigned copy.
- Back up all photos to a cloud service immediately. Local storage on a phone that's later lost or replaced is a documentation gap you don't want.
- Note the date and time in your photos where possible. Most smartphones embed this in the image metadata automatically; confirm yours does.
- Send a summary email to your landlord listing every defect noted, even if a formal inspection form was also completed. A written record of what both parties acknowledged protects you if the form is later disputed or "misplaced."
For renters also setting up internet and home tech on move-in day, the home network setup checklist is a useful companion resource to run through once the inspection is complete.
This article is for general informational purposes only and does not constitute legal or financial advice. Security deposit laws vary significantly by state and municipality. Consult a licensed attorney or your local tenant rights organization for guidance specific to your situation.