

Key Takeaways
What Number Porting Actually Means
Number porting is the process of transferring your existing phone number from one carrier to another. In the United States, federal rules give consumers the right to keep their mobile number when switching providers - this is known as Local Number Portability (LNP). No carrier can legally prevent you from porting your number as long as your account is in good standing.
The process is carrier-to-carrier: your new provider submits a port request to your old one, and the transfer happens electronically. You don't need to coordinate a specific handoff time or be present at a store. Understanding this removes most of the anxiety around switching.
If you're weighing which type of carrier to switch to, it helps to understand how the underlying networks differ. Our article on major carriers vs. MVNOs explains how smaller carriers lease network access and what that means for coverage and pricing.
What you will need
Before You Start: What to Have Ready
Successful number porting comes down to preparation. Gather everything listed below before you begin the sign-up process with your new carrier. Missing any of these mid-process can cause delays or failed port attempts.
Account Number & Transfer PIN
Required by the new carrier to authorize the number port from your old account.
New SIM Card or eSIM
Physically connects your phone to the new carrier's network after the port completes.
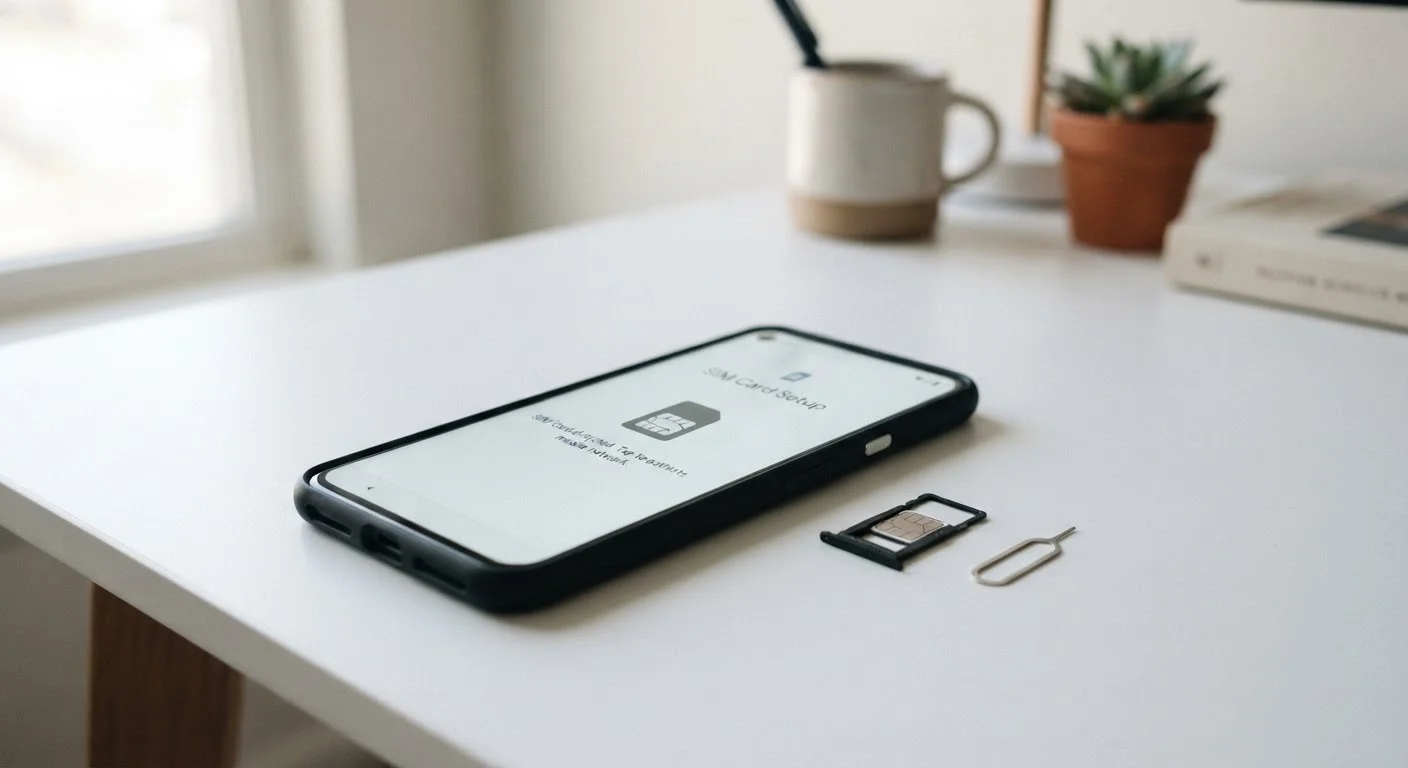
SIM Ejector Tool (or paperclip)
Used to open the SIM tray on your phone when swapping a physical SIM card.
Wi-Fi Connection
Allows eSIM downloads and account setup without depending on cellular signal.
Do Not Cancel Your Old Account First
This is the single most common and costly mistake people make when switching carriers. Your old account must remain active for the number port to succeed - canceling it beforehand permanently releases your number. Only close the old account after your number is confirmed active on the new carrier.
Step-by-Step: How to Port Your Number
Gather Your Account Information from Your Current Carrier
Before you touch anything else, log into your current carrier's account portal or call customer support to retrieve your account number and account PIN (sometimes called a transfer PIN or number transfer PIN). These two pieces of information are mandatory - no new carrier can port your number without them.
Your account number is typically printed on your monthly bill. Your PIN may be your standard account password or a separate 6-10 digit code the carrier assigns specifically for transfers. Some carriers require you to request this PIN through the app or via a short texted code.
Confirm Your Phone Is Unlocked and Compatible
A locked phone is tied to a specific carrier and will not work on another network even after porting. Contact your current carrier to confirm your device is unlocked - most carriers are legally required to unlock devices that are fully paid off and meet account-standing requirements.
Compatibility is a separate issue. Carriers operate on different frequency bands, and not every phone supports every band. Our guide on bringing your own phone to a new carrier walks through exactly how to verify this using your phone's model number and the new carrier's compatibility checker.
Sign Up with the New Carrier - But Don't Cancel the Old One
Complete your sign-up with the new carrier, select your plan, and obtain your new SIM card or set up an eSIM profile. During this process, the new carrier will ask for your number transfer details: your existing phone number, current carrier name, account number, and transfer PIN.
Enter this information carefully - errors here are the leading cause of port failures and delays. Double-check every digit before submitting.
Insert the New SIM or Activate the eSIM
For a physical SIM: power off your phone, use the ejector tool to open the SIM tray, swap in the new SIM, and power the phone back on. For an eSIM: follow the new carrier's in-app or QR code activation process while connected to Wi-Fi.
After activation, your phone may display the new carrier's name in the status bar before the port completes. This is normal - the number transfer happens in the background.
Wait for the Port to Complete and Test Your Number
Most number ports complete within a few minutes to a couple of hours. In some cases - particularly when moving from a landline or a less common regional carrier - it can take up to one business day. You'll typically receive a text or email confirmation from your new carrier when it's done.
Once notified, make a test call and send a test text from your number. Verify that incoming calls reach the new phone and that mobile data works as expected.
Confirm Port Success, Then Close Your Old Account
Only after you have confirmed that your number is fully active and working on the new carrier should you contact your old carrier to close the account. In many cases, the old account closes automatically once the port completes - but it's worth verifying to avoid being billed for another month.
If you were on a family or group plan, confirm that other lines on the account are not affected before initiating any account closure.
Keep Both SIM Cards During the Transition
Once you activate the new SIM, hold onto the old one for 24-48 hours before discarding it. In the rare event a port stalls or fails, having the original SIM on hand can speed up troubleshooting with either carrier's support team.
Common Problems and How to Handle Them
Most ports go smoothly, but a few issues come up regularly:
- Port rejected due to incorrect PIN: Contact your old carrier to verify or reset your transfer PIN, then resubmit through the new carrier.
- Port stuck for more than 24 hours: Call your new carrier's support line. They can check the status with the losing carrier and escalate if needed.
- Device not connecting after port: Restart your phone, and if using a physical SIM, reseat it. If still unresolved, check that your phone is compatible with the new carrier's bands.
- Unexpected charge from old carrier: If your billing cycle crossed over, you may owe a prorated final bill. Review your old carrier's terms for how final billing is calculated.
Early Termination Fees May Apply
If you are still within a contract period or on a device payment plan with your current carrier, switching may trigger an early termination fee or require you to pay off the remaining device balance. Check your current account terms before initiating the port to avoid unexpected charges.
If you're also thinking through whether switching is even necessary - or whether you could get more from your current plan - see our piece on getting the most out of any plan you already have.