

Key Takeaways
Why Most Paint Jobs Fail Prematurely
Peeling, bubbling, and cracking paint are rarely caused by a bad can of color. In the vast majority of cases, paint fails because the surface beneath it wasn't properly prepared. Paint is a finishing material - it reveals what's underneath it, and it bonds only as well as the surface allows.
Homeowners often focus on color selection and sheen levels, which are genuinely important decisions, but skip the unglamorous prep work that determines how long that paint will actually hold. Understanding what professionals consistently do before picking up a brush makes the difference between a paint job that lasts three years and one that lasts ten or more.
If you're planning a larger renovation alongside repainting, see our guide on renovation budgeting principles to avoid midproject surprises that can derail both your timeline and your walls.
Surface Prep Practices That Professionals Never Skip
The following habits form the foundation of a durable paint job. Each one addresses a specific failure mode that shows up repeatedly in paint jobs that didn't hold.
Wash walls thoroughly before any sanding or patching begins
Grease, dust, and residue from everyday living create a barrier between the wall and the paint film. Even a coat applied over a slightly grimy surface can lose adhesion within a year. Cleaning removes these contaminants and gives paint a clean substrate to bond with.
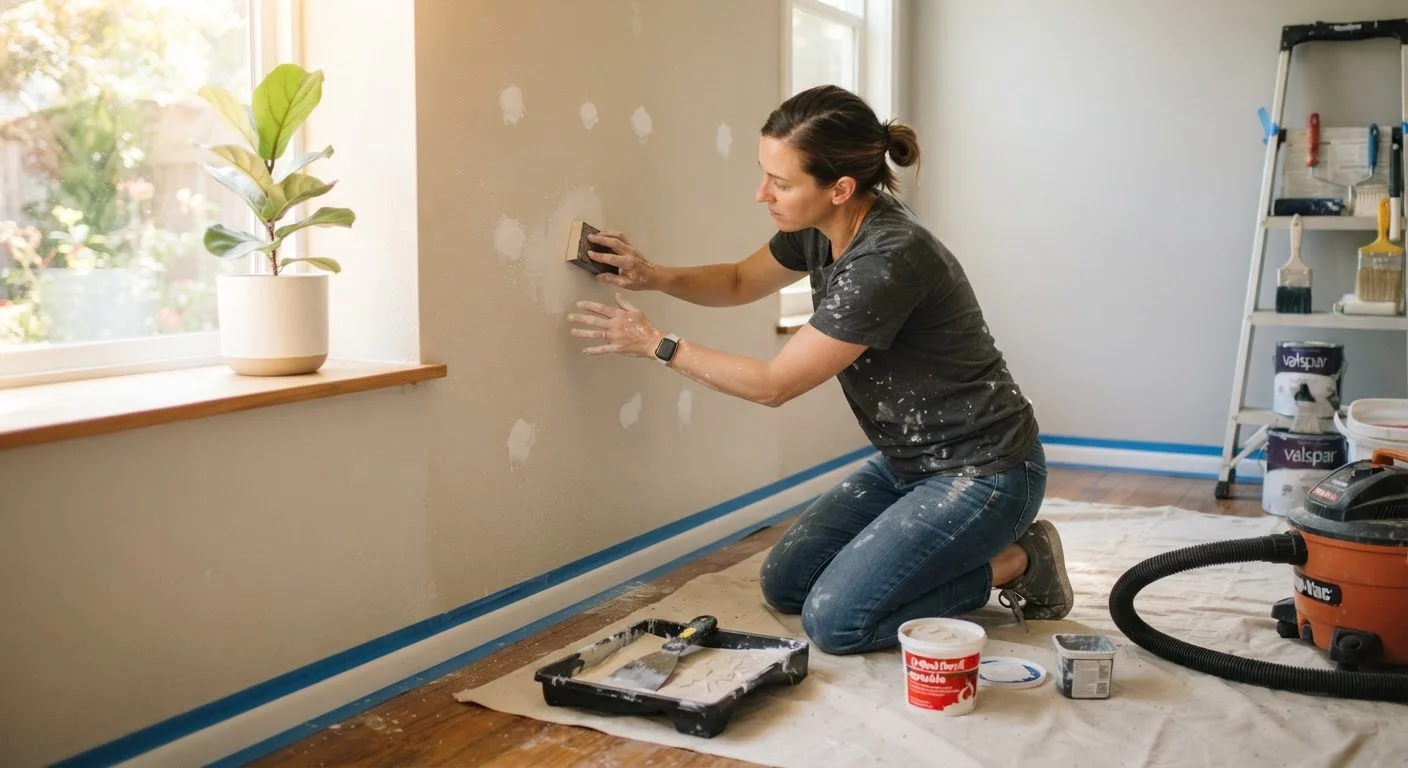
Fill every crack, hole, and dent - then sand smooth after drying
Paint does not fill imperfections; it follows them. Cracks and holes left unrepaired telegraph through even multiple coats of paint, becoming more visible over time as paint stretches and contracts with temperature. Proper patching and feathering prevents this.
Sand between coats - including after the primer coat
Each coat of paint or primer raises the grain of the surface slightly and may trap small debris or brush marks. Light sanding with fine-grit sandpaper (220 grit) between coats smooths these imperfections and improves adhesion for the next layer.
Allow each coat to cure - not just dry - before applying the next
Paint that appears dry to the touch is often still off-gassing solvents and chemically curing beneath the surface. Applying a second coat too soon traps moisture and solvents, which can cause adhesion failure, bubbling, or soft paint that picks up impressions for weeks.
Use painter's tape correctly - remove it before the paint fully hardens
Tape left on while paint fully cures can pull the fresh paint film with it when removed, leaving ragged edges that require touch-up. Removing tape at the right moment - while the paint is still slightly pliable - produces clean lines.
Priming: Understanding What It Actually Does
Primer is often treated as optional, but its function is specific and important. Primer creates a uniform, porous surface that topcoat paint bonds to reliably. Without it - on porous surfaces, repaired drywall, or stain-prone substrates - paint absorbs unevenly, adhesion is inconsistent, and color uniformity suffers.
Match Primer Type to Your Situation
Oil-based primers offer superior stain blocking for smoke, water stains, and tannin bleed from wood. Water-based (latex) primers work well on most standard drywall surfaces and have significantly lower VOC (volatile organic compound) levels. Shellac-based primers are the strongest stain blockers but require careful ventilation. Choose based on what you're covering, not just what's convenient.
That said, primer isn't always necessary. On previously painted walls in good condition with no stains, patching, or dramatic color changes, a high-quality paint-and-primer product may be sufficient. The key is matching your primer choice to your actual surface condition, not applying it out of habit. For a full breakdown of when primer genuinely earns its place, see common misconceptions about paint primer.
Application Habits That Extend Paint Life
How paint goes on matters almost as much as what went on before it. Several application habits directly determine durability.
One frequently overlooked factor is environmental conditions. Painting in high humidity or low temperatures affects how paint cures - not just how it dries. Paint that appears dry to the touch can still be chemically curing for days, making it vulnerable to damage. Always follow the manufacturer's recoat windows, even when the surface feels ready.
If you plan to hire a professional painter rather than DIY, our guide on talking to contractors can help you ask the right questions and recognize quality workmanship commitments upfront.
Addressing Moisture Before You Open the First Can
Moisture is paint's most persistent enemy. If there's an active leak, condensation problem, or area where water has previously infiltrated, painting over it will not fix the underlying issue - and the paint will fail within months. Bubbling and peeling in bathrooms, kitchens, and basement stairwells almost always trace back to moisture that wasn't resolved before painting began.
Check around windows, at the base of exterior walls, and in rooms prone to humidity. In bathrooms especially, cracked caulk and failing grout can allow moisture to migrate behind the wall surface. Our article on grout and caulk replacement explains how to spot deterioration before it becomes a more expensive problem.
Resolve any moisture source, allow the area to fully dry out, and apply a stain-blocking primer before topcoating. Skipping any part of this sequence guarantees a repeat of the same failure.
This article provides general home improvement information. Local building codes, surface conditions, and product specifications vary - consult a qualified painting professional for guidance specific to your home.