

Tech & Telecom

What to Check Before Bringing Your Own Phone to a New Carrier

Share
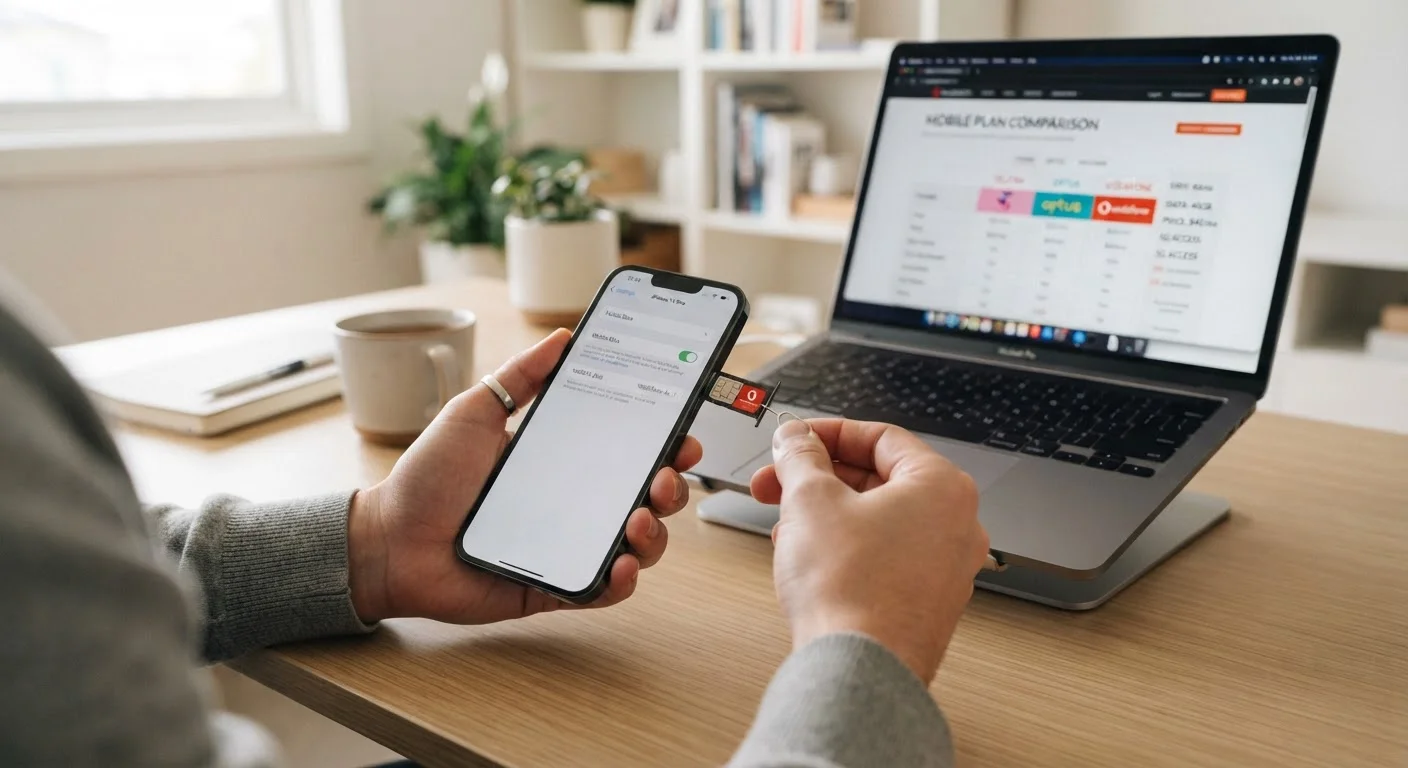
Person holding a smartphone next to a SIM ejector tool preparing to switch carriers

Key Takeaways

Not all phones are compatible with every carrier's network bands — verify yours before switching.
A locked phone cannot be used on a new carrier until your current carrier unlocks it.
Outstanding device payments or active contracts may block or complicate a switch.
IMEI checks reveal whether a phone is reported stolen, blacklisted, or carrier-locked.
Some carrier-specific features like Wi-Fi calling may not work on a brought-in device.
Confirming compatibility upfront prevents being stuck without service after you switch.
20–45 min

Summary

18 items · 20–45 minutes

Why Checking Before You Switch Actually Matters

Bringing your own phone to a new carrier — often called a BYOD (Bring Your Own Device) switch — is a practical way to avoid buying new hardware when changing plans. But not every phone works seamlessly on every network. Skipping compatibility checks before you switch can leave you with limited service, missing features, or a phone that simply won't activate on the new carrier.

The checklist below walks you through the key verification steps to complete before you commit to a new plan. If you're also planning to keep your existing number, see our guide on switching carriers without losing your number for the porting process once you've confirmed compatibility.

Device Lock Status

Confirm your phone is unlocked by attempting to use a SIM card from a different carrier, or by checking your device settings for a "SIM Lock" or "Network Lock" indicator. Must
Contact your current carrier to request an unlock if your phone is still carrier-locked — most carriers are required to unlock devices that meet their eligibility criteria. Must
Wait for written confirmation of the unlock from your current carrier before initiating a switch. Should

IMEI and Device Status

Locate your phone's IMEI number by dialing *#06# or finding it in your device settings under "About Phone." Must
Run your IMEI through a reputable IMEI checker tool to verify the device is not reported stolen, blacklisted, or barred from activation. Must
Confirm with your current carrier that no theft or loss report has been filed against the device, especially if you purchased it secondhand. Must

Financial and Contract Obligations

Check whether your device is on an installment plan or lease — outstanding device payments may need to be paid in full before a carrier will unlock or release it. Must
Review your current contract for any early termination fees or remaining promotional commitments that would apply if you leave. Must
Confirm your account is in good standing — carriers typically will not process an unlock or port-out on an account with an unpaid balance. Must

Network Band Compatibility

Look up the frequency bands (also called LTE and 5G bands) supported by your phone model, found in its technical specifications on the manufacturer's website. Must
Compare your phone's supported bands against the bands used by your target carrier — carriers publish their band lists in network or coverage documentation. Must
Pay specific attention to mid-band 5G (commonly Band n77 or n41) and low-band LTE (Band 12 or Band 71) if rural or indoor coverage matters to you. Should

Feature Compatibility

Check whether your phone supports Wi-Fi Calling and VoLTE (Voice over LTE) on the new carrier — these features sometimes require carrier-specific certification. Should
Confirm that hotspot or tethering functionality will remain available on a brought-in device under your target plan tier. Should
Verify whether your phone supports eSIM if you plan to activate on an eSIM-based plan, as not all devices have this capability. Nice to have

Plan Eligibility

Confirm that the specific plan you want is available for BYOD customers — some promotional plans are restricted to device purchases. Must
Ask the new carrier whether any BYOD-specific restrictions apply to data speeds, roaming, or hotspot allotments on your plan. Should
Request documentation (email or account confirmation) of your plan terms before completing the switch so you have a written record. Nice to have

Tools You'll Need to Run These Checks

Most of the checks in this checklist require only your phone, its IMEI number, and internet access. Your IMEI is a unique 15-digit identifier for your device — find it by dialing *#06# on your phone, or locating it in your phone's settings under "About Phone" or "About Device." Have it on hand before you start.

Required

IMEI Checker Tool

Verifies whether your device is carrier-locked, blacklisted, or flagged as lost or stolen before you attempt to switch.

Required

Carrier Band Compatibility List

Documents which LTE and 5G frequency bands your target carrier uses, so you can compare them against your phone's specifications.

Required

Device Manufacturer Spec Sheet

Lists the exact radio bands and network technologies supported by your phone model, typically found on the manufacturer's official website.

Required

Current Carrier Account Portal

Used to check your installment plan balance, contract status, and account standing before initiating an unlock request.

Optional

eSIM Compatibility Checker

Confirms whether your device supports eSIM activation, relevant if your target carrier uses an eSIM-first setup.

Understanding which network a carrier uses underneath its branding also matters here. Many smaller carriers — called MVNOs — lease access from larger networks, which directly affects which phones and bands will work. Our article on major carriers vs. MVNOs explains how this works and why it affects compatibility.

Secondhand Phones Carry Extra Risk

If you purchased your phone from a private seller rather than a carrier or retailer, run an IMEI check before assuming it's clean. A phone can be activated, used, and later reported stolen — leaving the next owner with a blacklisted device that no carrier will activate. Always verify IMEI status before buying a used phone intended for BYOD use.

After the Checklist: What Comes Next

Once you've confirmed your phone is unlocked, compatible, and clear of any financial holds, you're in a strong position to switch. Review the target carrier's coverage maps for your specific area — but keep in mind that maps don't capture the full picture. Terrain, building materials, and local tower density all play a role, as explained in our article on how carriers determine coverage.

If you're newer to choosing plans and want a broader orientation, our first smartphone plan guide covers contract terms, cost structures, and common pitfalls. And once you've made the switch, getting the most out of your plan can help you maximize what you're paying for.

Don't Cancel Your Current Plan Too Early

Keep your existing service active until your new line is fully activated and confirmed working — including calls, texts, and data. Canceling your current plan before the port-out completes can result in losing your phone number permanently. The new carrier initiates the port; your old service ends automatically once it's processed.

Tech & Telecom Editorial Team is the collective byline for our editorial team and contributor network. Articles published under this byline or an editorial pen name are researched, written, and reviewed according to our editorial standards for clarity, consistency, and independence before publication.

View all articles by Tech & Telecom Editorial Team →
Disclaimer: The content on this site is provided for informational purposes only and should not be considered a substitute for professional advice. While we strive to provide accurate and up-to-date information, we make no guarantees regarding its completeness or accuracy. Always consult a qualified professional for advice specific to your circumstances before making any decisions.