

Key Takeaways
Why Composting Is Worth the Effort
Composting is one of the most impactful habits a home gardener can develop. Rather than sending vegetable peels, coffee grounds, and yard trimmings to the landfill - where they decompose anaerobically and contribute to methane emissions - you redirect them into a resource that actively improves your garden. The finished product, often called humus or finished compost, enriches soil in ways that synthetic fertilizers simply cannot replicate.
Understanding what makes soil healthy is the foundation here. As explained in our guide to garden soil health, soil structure and microbial activity matter more than any single amendment you can add. Compost feeds that ecosystem from the ground up - literally. It introduces and sustains the organisms that break down nutrients into forms plants can absorb, improves aeration, and buffers soil against pH swings.
Composting also fits naturally into a broader set of sustainable yard practices that reduce your reliance on purchased inputs and help your outdoor space function as a more self-sustaining system over time.
What you will need
What You'll Need to Get Started
The good news: composting doesn't require much equipment or space. A basic setup can be assembled in an afternoon, and the ongoing time commitment is minimal - typically a few minutes every week or two.
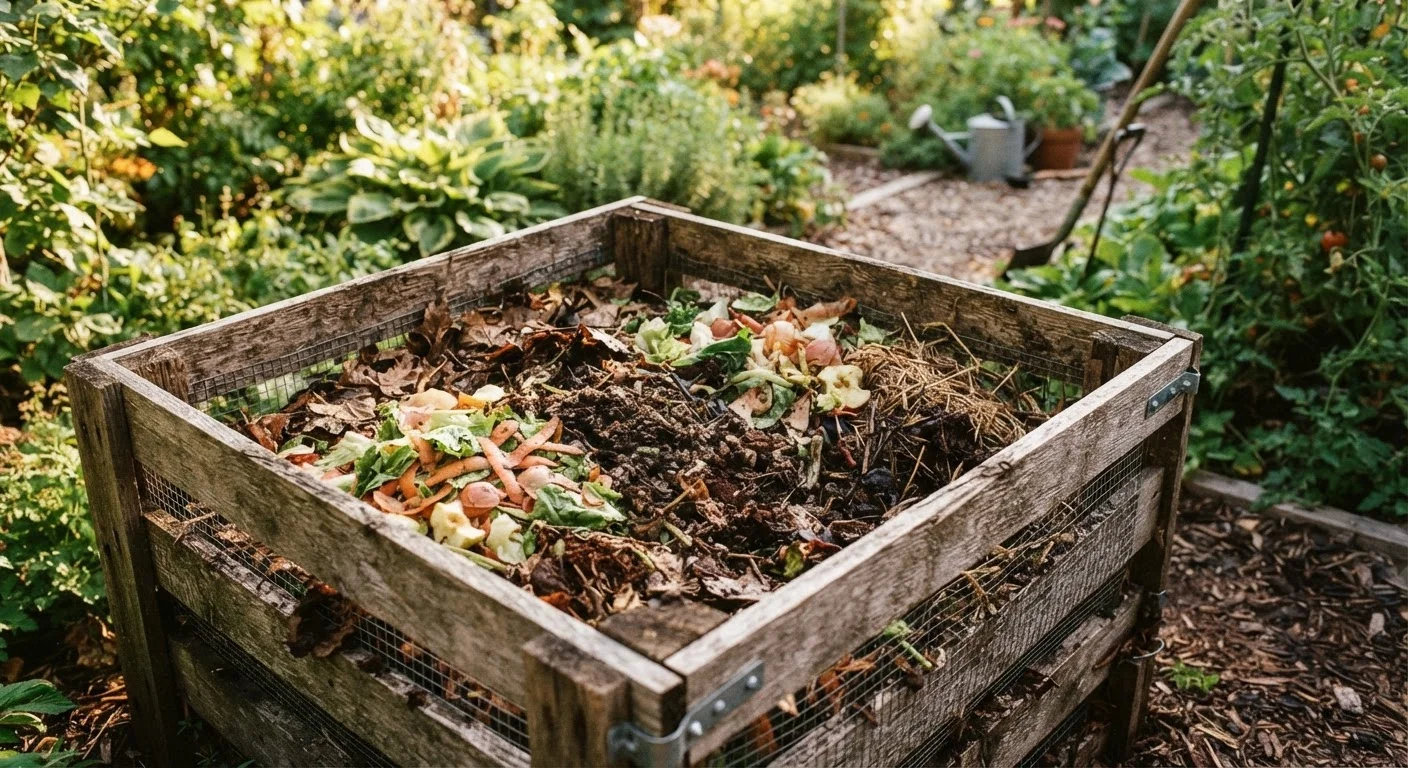
Compost bin or enclosure
Contains the pile, retains heat and moisture, and keeps pests out.
Garden fork or compost aerator
Used to turn and aerate the pile, which accelerates decomposition.
Kitchen scrap collection container
Stores food scraps on your countertop or under the sink until you're ready to add them to the pile.
Garden hose or watering can
Used to moisten the pile when it becomes too dry.
Compost thermometer
Measures the internal temperature of the pile to confirm active decomposition is occurring.
Speed Things Up Naturally
Chop or shred materials before adding them to the pile. Smaller pieces decompose much faster because they expose more surface area to microbial activity. Running a lawn mower over a pile of leaves before adding them is a quick, effective shortcut.
Step-by-Step: Building and Maintaining Your Compost Pile
Follow these steps to set up a productive compost system and keep it working efficiently through every season.
Never Compost These Materials
Avoid adding meat, fish, bones, dairy products, oily foods, pet waste, or diseased plants to your compost pile. These materials attract pests, introduce harmful pathogens, and can create persistent odor problems. Stick to plant-based kitchen scraps and untreated yard waste for safe, effective results.
Choose and set up your composting method
Decide whether you'll use a purchased bin, a DIY wooden enclosure, or a simple open pile in a corner of your yard. The bin should sit directly on soil or grass - this allows earthworms and beneficial microbes to migrate up into the pile. Choose a spot that gets partial shade to help retain moisture, and that's reasonably close to your kitchen door so adding scraps stays convenient.
Understand browns vs. greens
Composting works by balancing two categories of material. Browns are carbon-rich: dry leaves, cardboard, paper bags, straw, and wood chips. Greens are nitrogen-rich: fruit and vegetable scraps, coffee grounds and filters, fresh grass clippings, and plant trimmings. A healthy pile needs roughly three parts browns to one part greens by volume. Too many greens and the pile becomes slimy and smelly; too many browns and it stalls out.
Build your initial pile in layers
Start with a 4-6 inch layer of coarse browns at the bottom - this aids drainage and airflow. Add a 2-3 inch layer of greens on top, then cover with another layer of browns. Continue alternating layers as you add material. If you have finished or nearly finished compost from a previous batch, sprinkle a thin layer in - it introduces active microbes that jumpstart the new pile.
Maintain moisture and airflow
Check your pile every few days. If it feels dry, water it gently. If it smells like ammonia or rotten eggs, it's likely too wet or unbalanced - add more browns and turn it. Proper moisture and oxygen are the two variables most within your control. Without adequate airflow, anaerobic bacteria take over and produce unpleasant odors instead of efficient decomposition.
Turn the pile regularly
Use a garden fork to turn the pile every one to two weeks, moving material from the outer edges toward the center. The center of an active pile can reach 130-160°F - hot enough to kill weed seeds and many pathogens. Turning redistributes this heat and introduces fresh oxygen. More frequent turning generally means faster results.
Recognize when compost is ready
Finished compost is dark brown, crumbly, and smells earthy - similar to rich forest soil. You should not be able to identify the original materials. This can take anywhere from two months (hot, actively managed pile) to a year (cold, passive pile). If parts of the pile are still recognizable, screen out the finished material from the bottom and return unfinished pieces to the pile to continue breaking down.
Apply finished compost to your garden
Work finished compost into garden beds at a depth of 2-4 inches before planting, or use it as a top dressing around established plants. It improves drainage in clay soils, increases moisture retention in sandy soils, and feeds soil organisms over time. For container plants, mix compost into potting mix at a ratio of about one part compost to three parts mix.
Putting Your Compost to Work
Once you have a reliable supply of finished compost, the possibilities expand quickly. Gardeners starting a first vegetable garden will find that compost-amended beds establish faster and require less supplemental feeding throughout the season. It also pairs well with garden mulch - apply compost first to feed the soil, then layer mulch on top to lock in moisture and moderate temperature.
For those growing in tight spaces, compost mixed into container growing medium can meaningfully extend the productive life of potting soil - a useful consideration if you've explored container gardening for small spaces. Even a modest compost operation producing just a few cubic feet per season can noticeably reduce how much you spend on bagged soil amendments each year.
The real reward, though, is watching a closed loop form in your own backyard - kitchen scraps become rich soil, that soil grows better food, and the cycle continues. It's one of the most grounded ways to connect what happens in your kitchen with what flourishes in your garden.